How to Freeze Cookie Dough…*
… a smart, time-saving idea for those ‘gotta-have’ moments
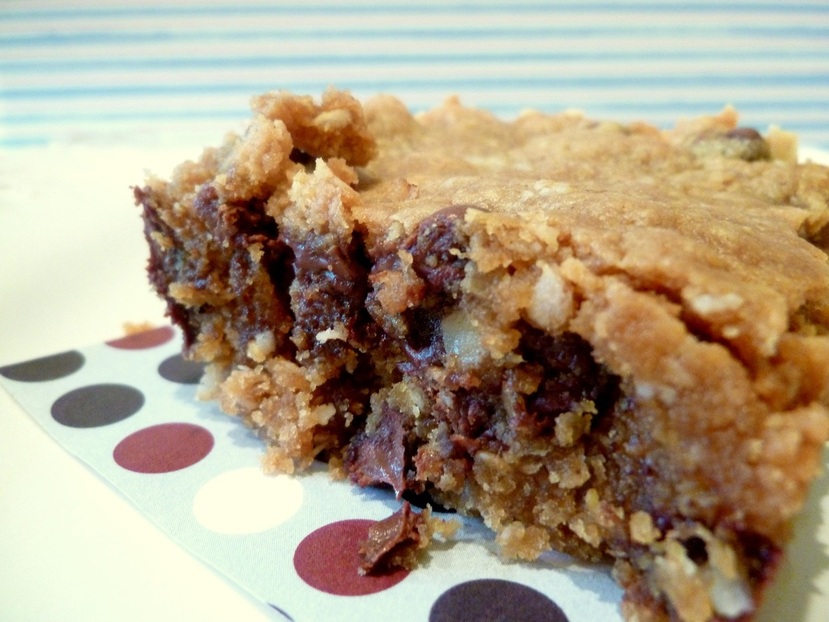
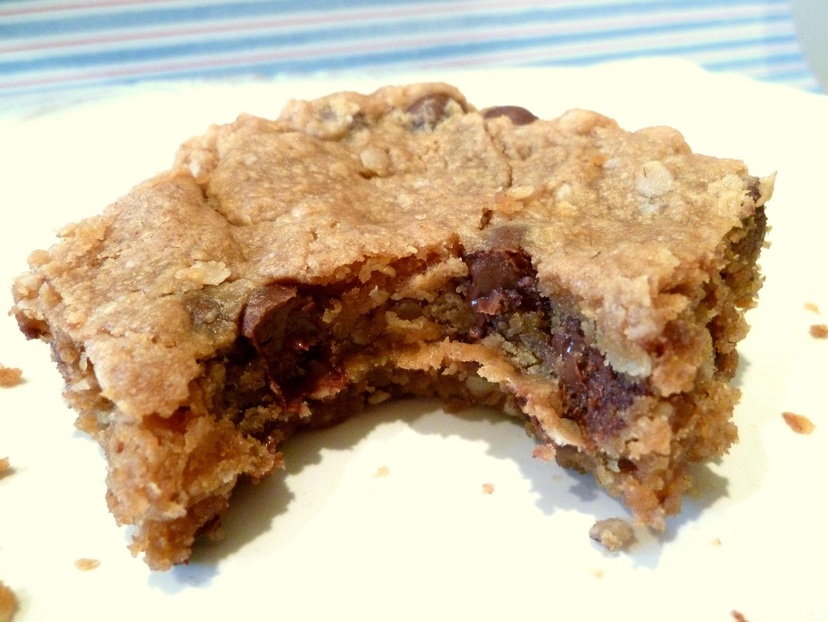
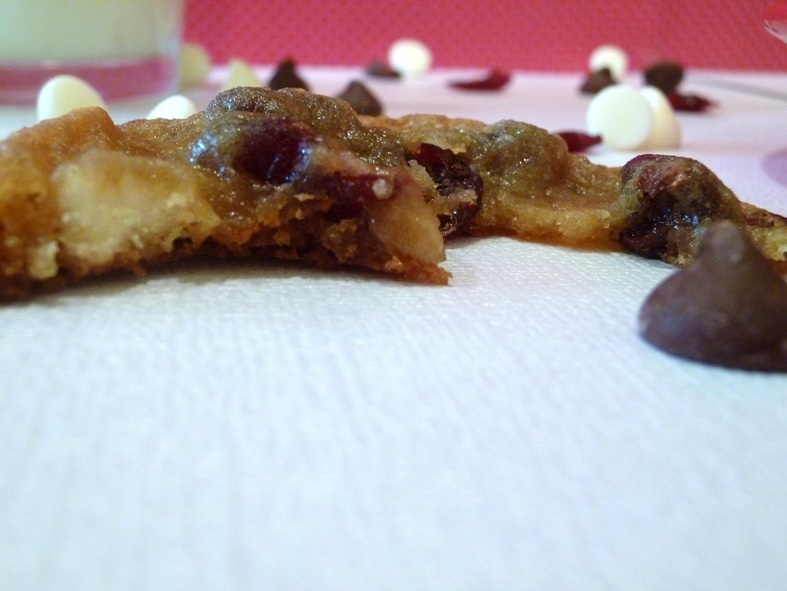
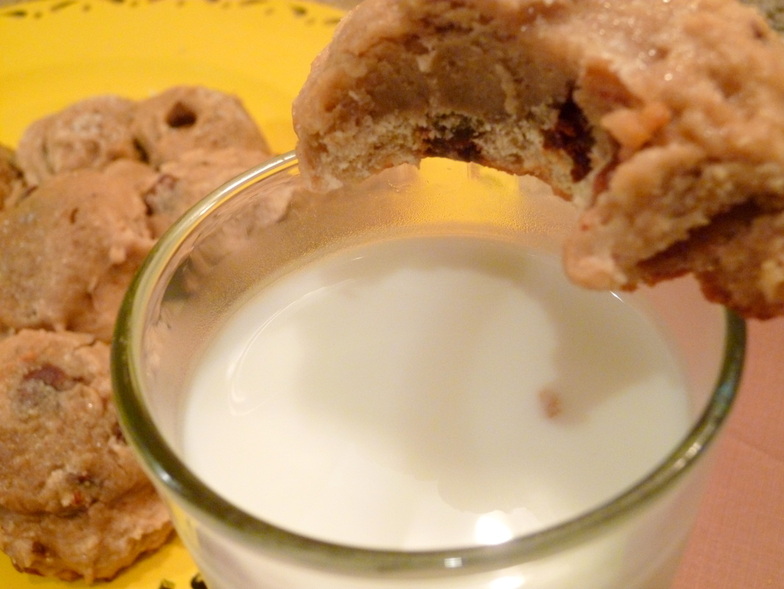
Do you ever crave homemade cookies but dread the mess and headache it involves to make them? No, I’m not talking about the pre-sliced cookies that come packaged in a tube, or the ‘Break ‘n’ Bake’ ones that you simply throw in the oven. I’m talking about the ooey, gooey, thick homemade cookies that hold a special place in your heart. Okay, well, maybe that’s just me. I mean, I know I’m obsessed with sweets and all, but I refuse to settle for those darn premade cookies at the grocery store. Most of the time, they’re dry, crumbly, and fall apart before they even make it into my tall glass of milk. Plus, I prefer a little more ‘chunk’ to my cookies, if you know what I mean. With that, I’d like to share with you this tutorial on freezing your homemade cookie dough for those ‘gotta-have a warm chocolate-chip cookie now’ moments. If you still don’t know what I’m talking about, we can no longer be friends. After all, cookies make the world go ‘round. Duh.
… a smart, time-saving idea for those ‘gotta-have’ moments
Do you ever crave homemade cookies but dread the mess and headache it involves to make them? No, I’m not talking about the pre-sliced cookies that come packaged in a tube, or the ‘Break ‘n’ Bake’ ones that you simply throw in the oven. I’m talking about the ooey, gooey, thick homemade cookies that hold a special place in your heart. Okay, well, maybe that’s just me. I mean, I know I’m obsessed with sweets and all, but I refuse to settle for those darn premade cookies at the grocery store. Most of the time, they’re dry, crumbly, and fall apart before they even make it into my tall glass of milk. Plus, I prefer a little more ‘chunk’ to my cookies, if you know what I mean. With that, I’d like to share with you this tutorial on freezing your homemade cookie dough for those ‘gotta-have a warm chocolate-chip cookie now’ moments. If you still don’t know what I’m talking about, we can no longer be friends. After all, cookies make the world go ‘round. Duh.
The Supplies…*
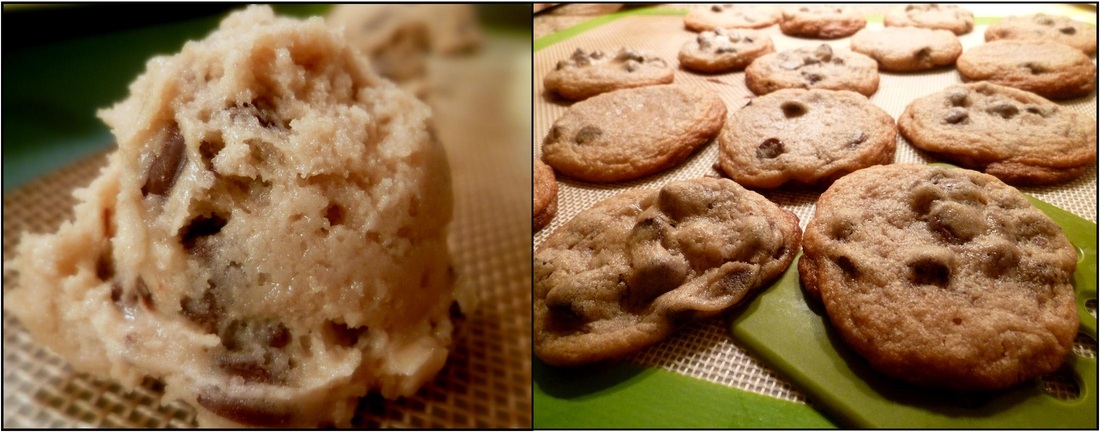
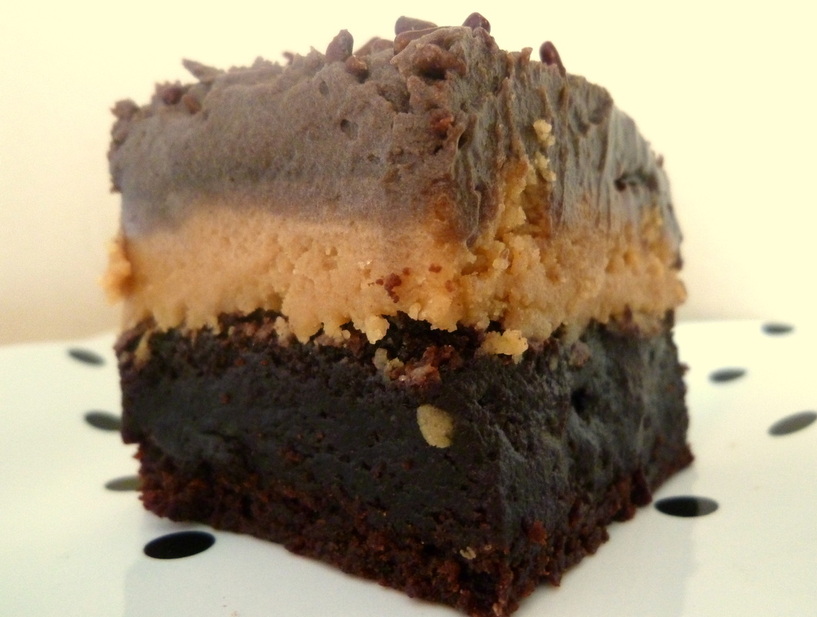
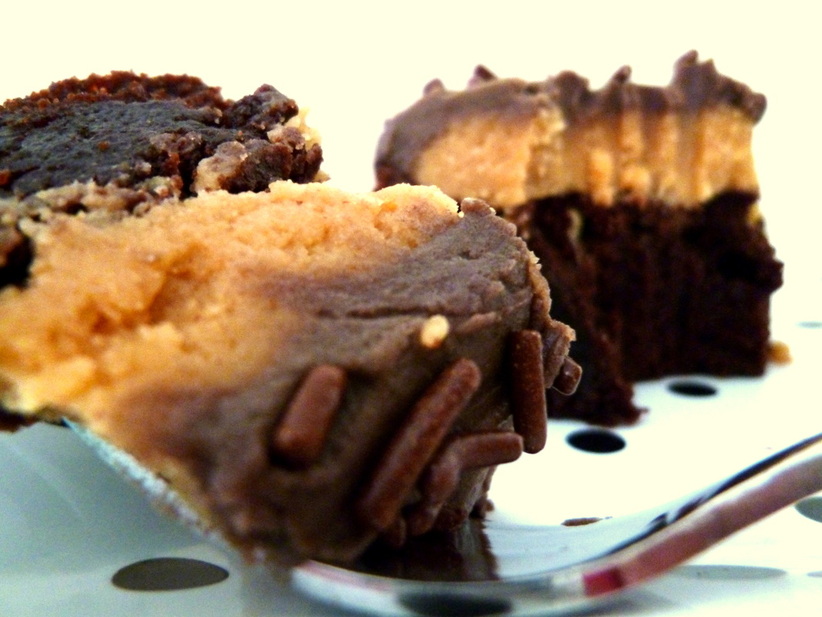
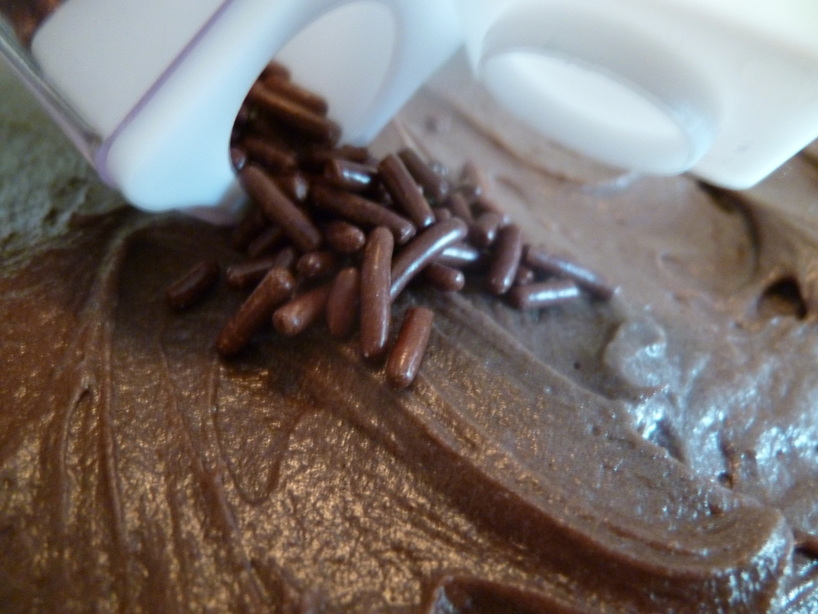
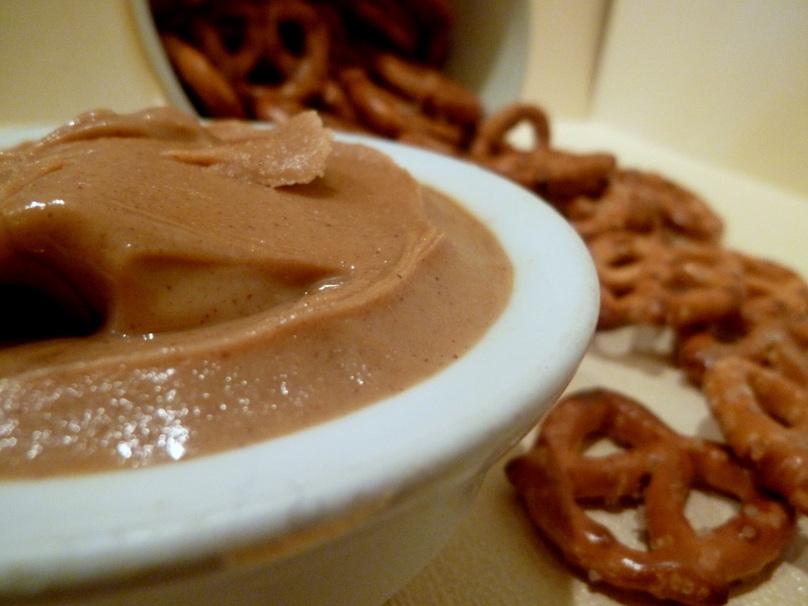
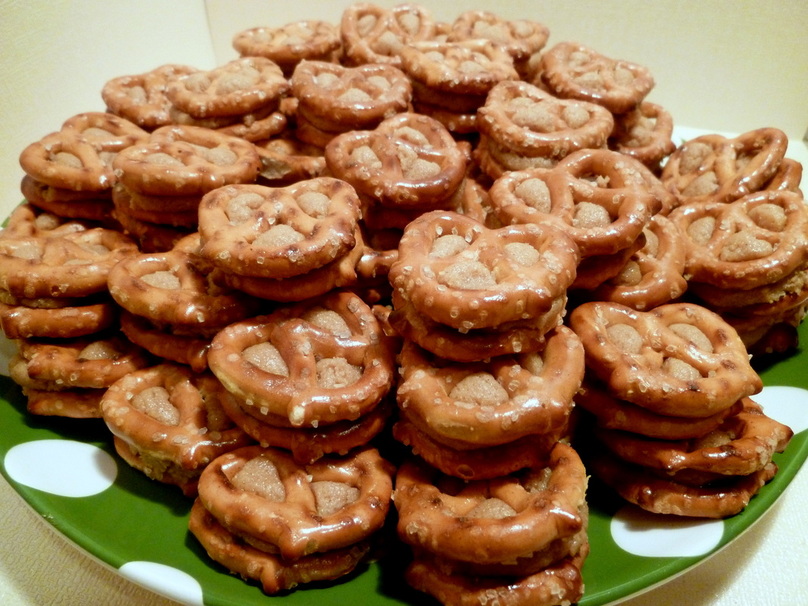
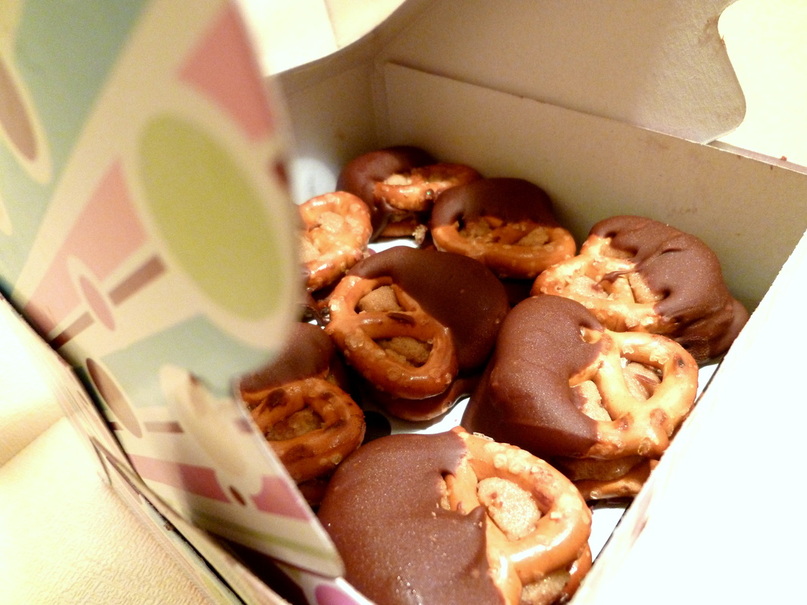
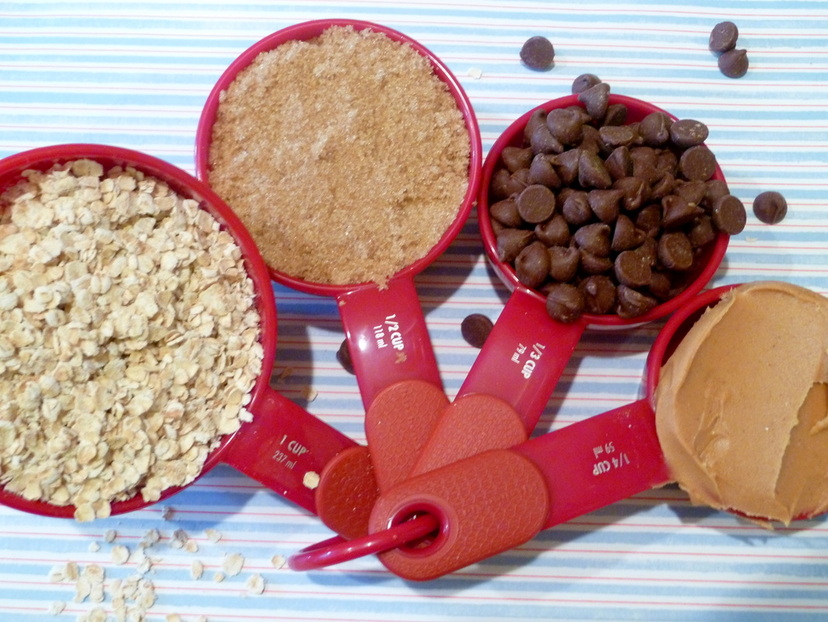
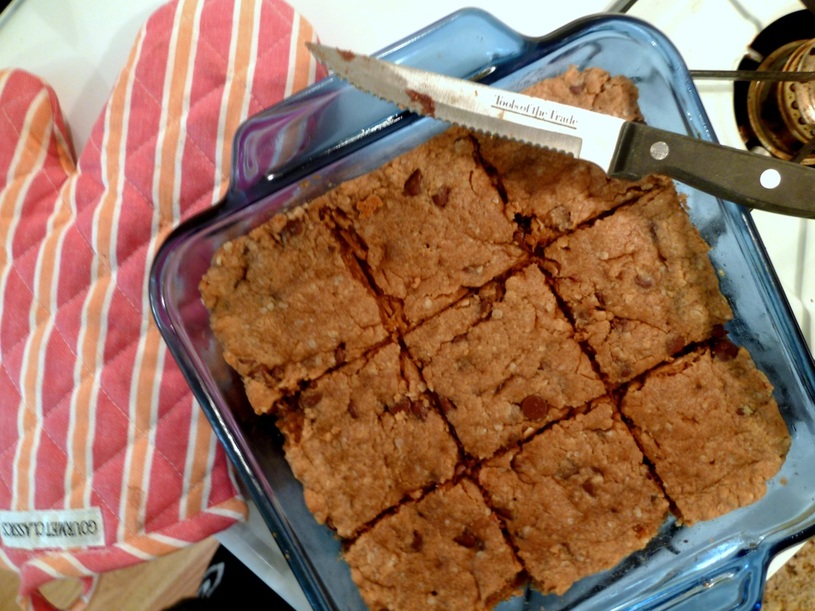
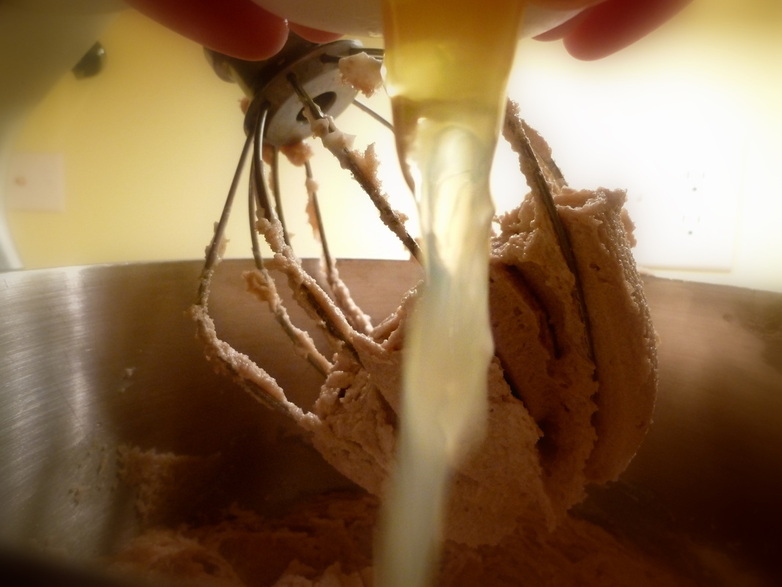
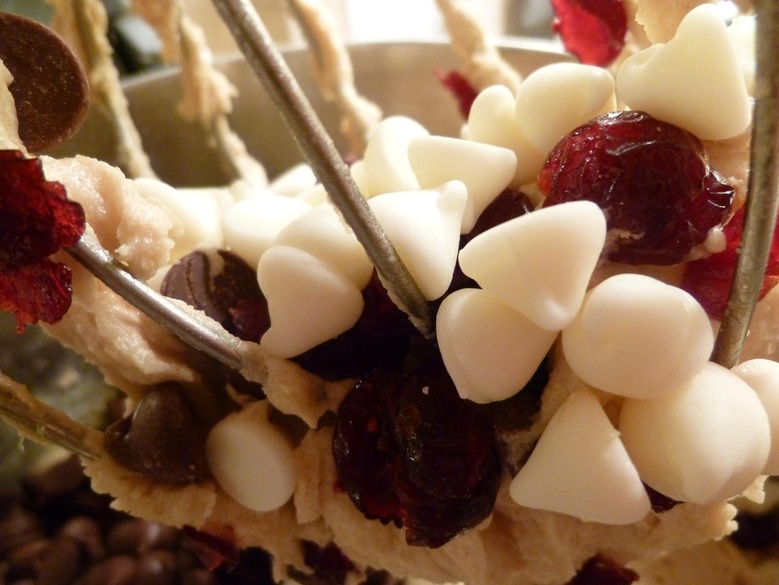
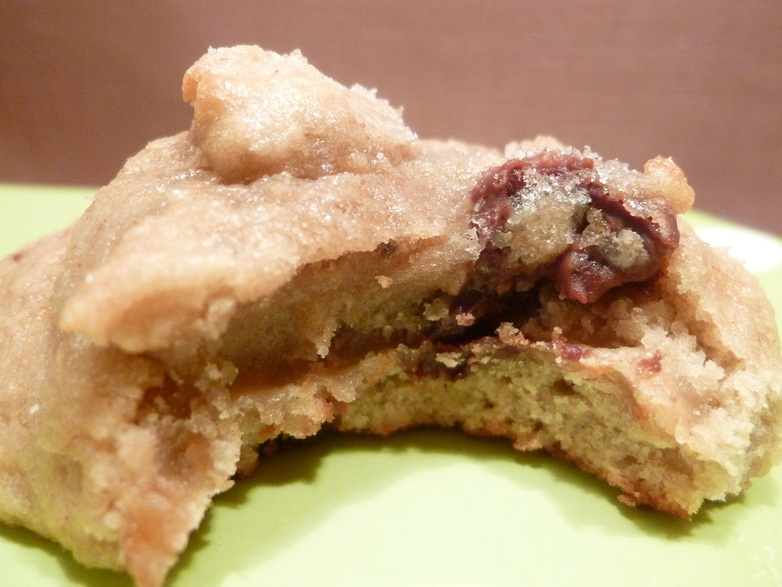
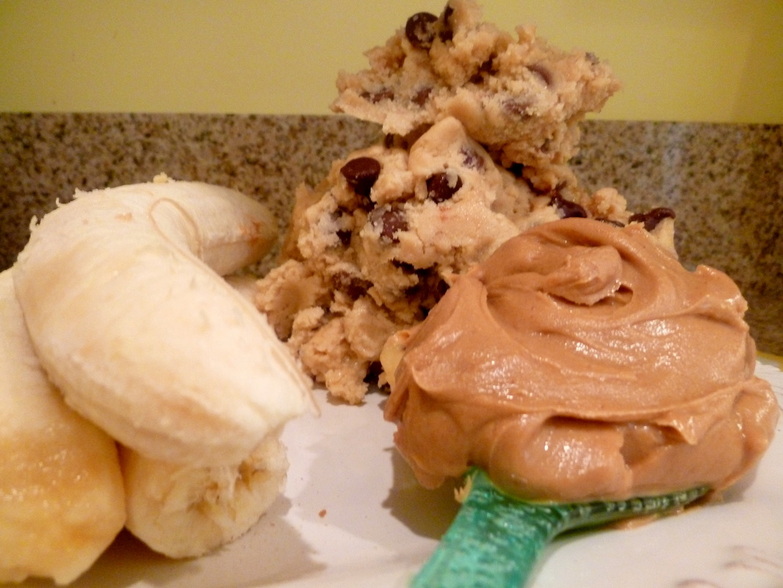
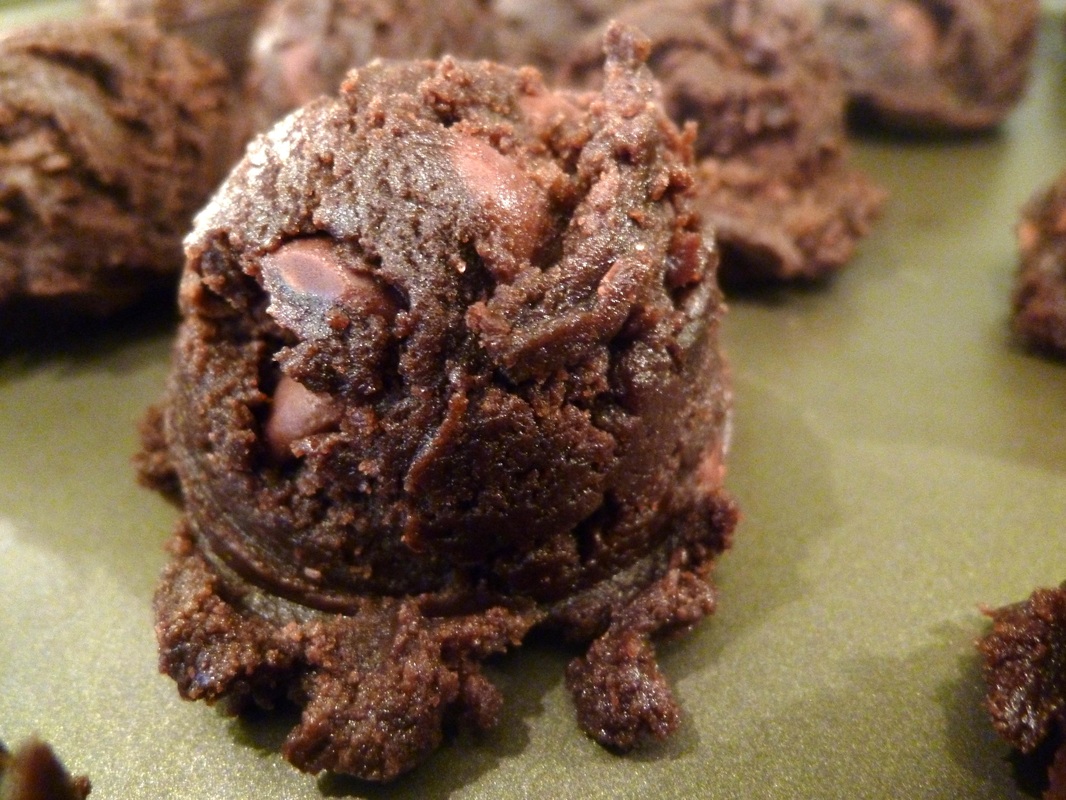
1 batch of your favorite cookie dough, (I used my Triple Chocolate Peanut Butter Cookies)
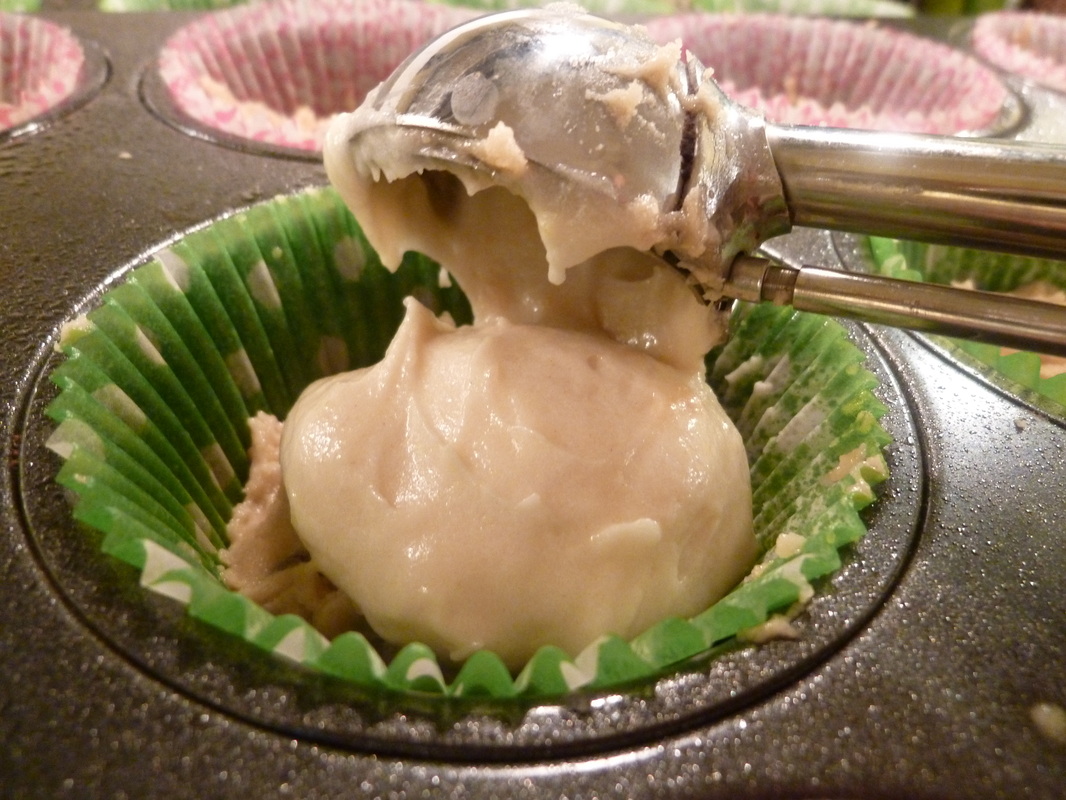
Small ice cream scoop/cookie scoop
Parchment paper (or aluminum foil)
2 large baking sheets
Large Ziploc freezer bags, for storing
Permanent marker, for labeling
1 batch of your favorite cookie dough, (I used my Triple Chocolate Peanut Butter Cookies)
Small ice cream scoop/cookie scoop
Parchment paper (or aluminum foil)
2 large baking sheets
Large Ziploc freezer bags, for storing
Permanent marker, for labeling
The Instructions…*
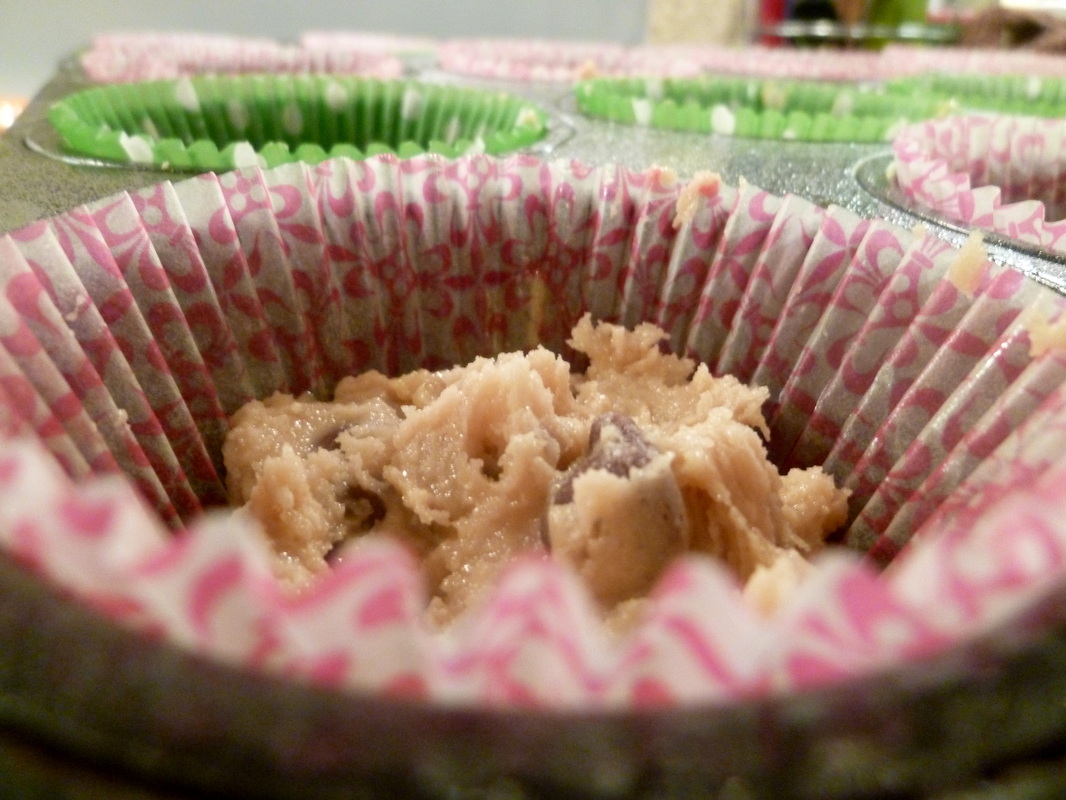
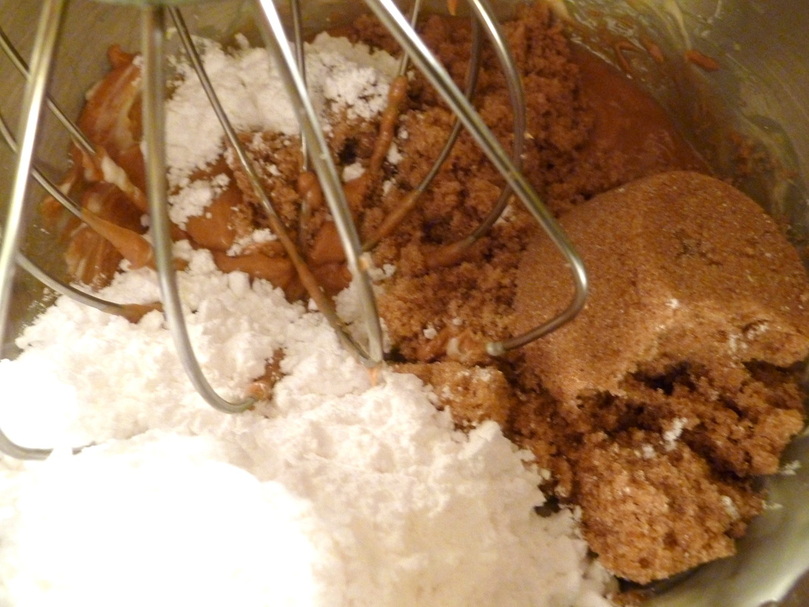
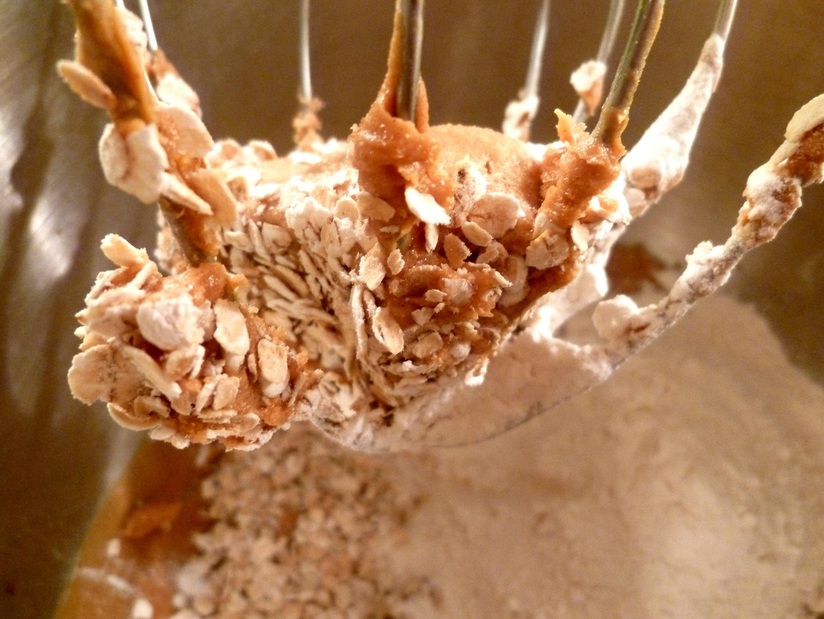
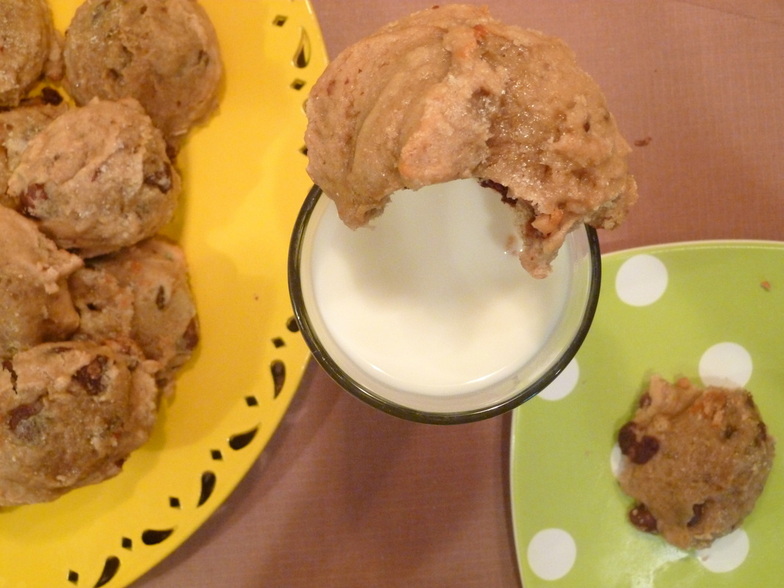
(1) Make 1 batch of cookie dough that freezes well (Like these cookies, or these Chocolate Chip Cookies)
(2) Cover 2 large baking sheets with parchment paper (or foil—whichever you have on hand)
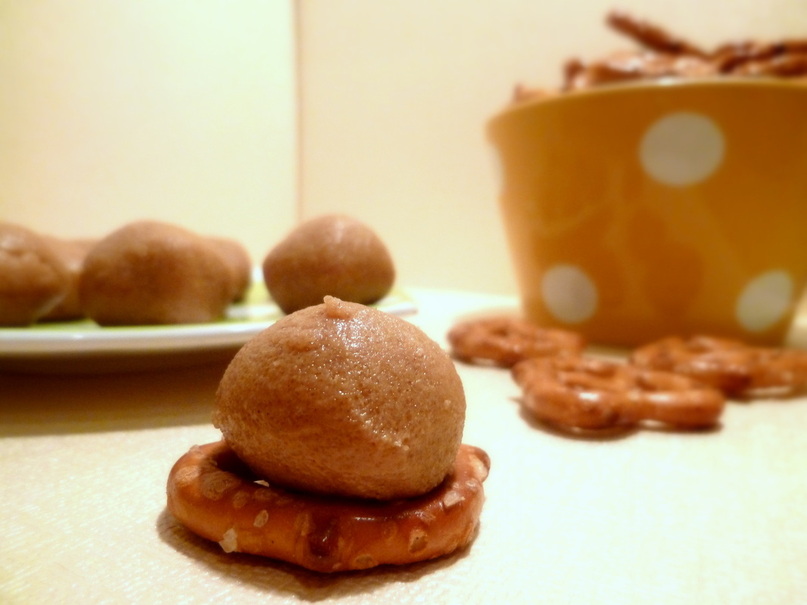
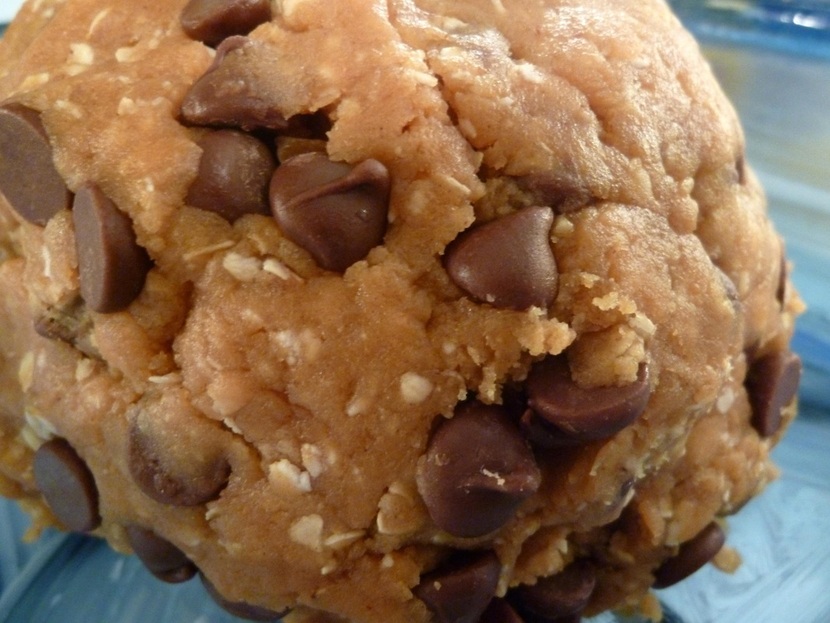
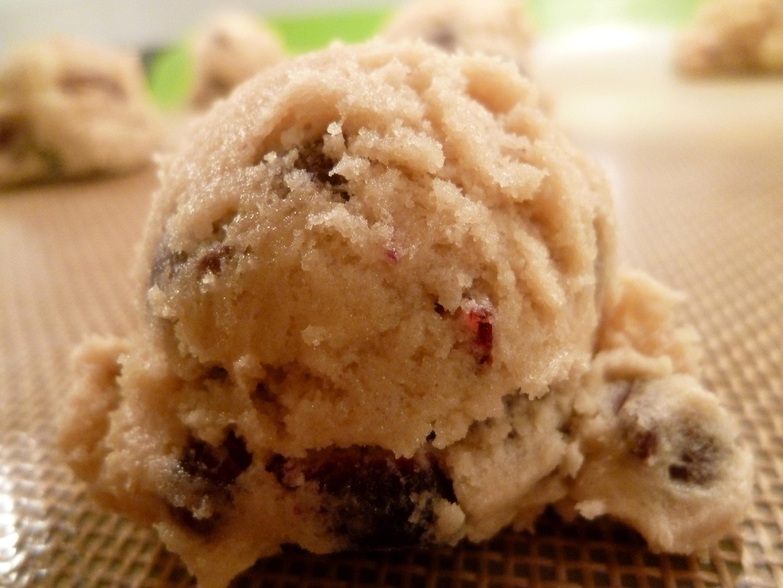
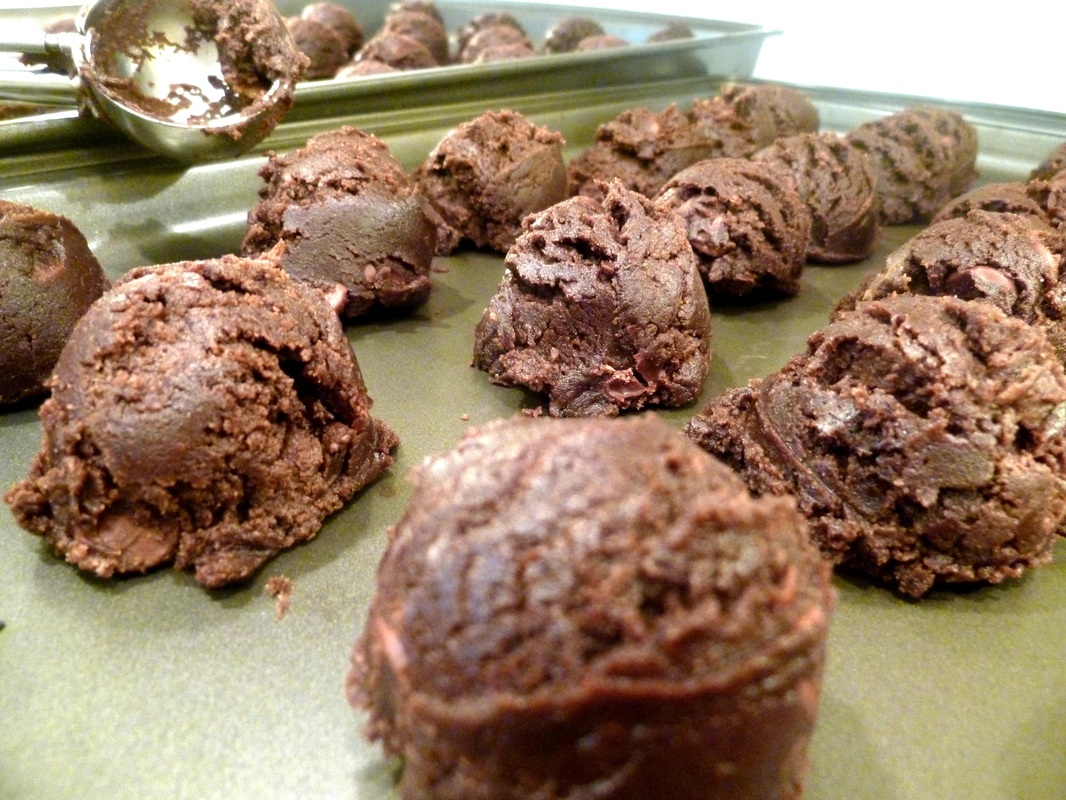
(3) Using ice cream scoop, place mounds of cookie dough onto baking sheet, leaving just enough space between them that they don't get stuck together
(1) Make 1 batch of cookie dough that freezes well (Like these cookies, or these Chocolate Chip Cookies)
(2) Cover 2 large baking sheets with parchment paper (or foil—whichever you have on hand)
(3) Using ice cream scoop, place mounds of cookie dough onto baking sheet, leaving just enough space between them that they don't get stuck together
(4) Place the baking sheets in the freezer until the cookie dough is hard; about 2 hours
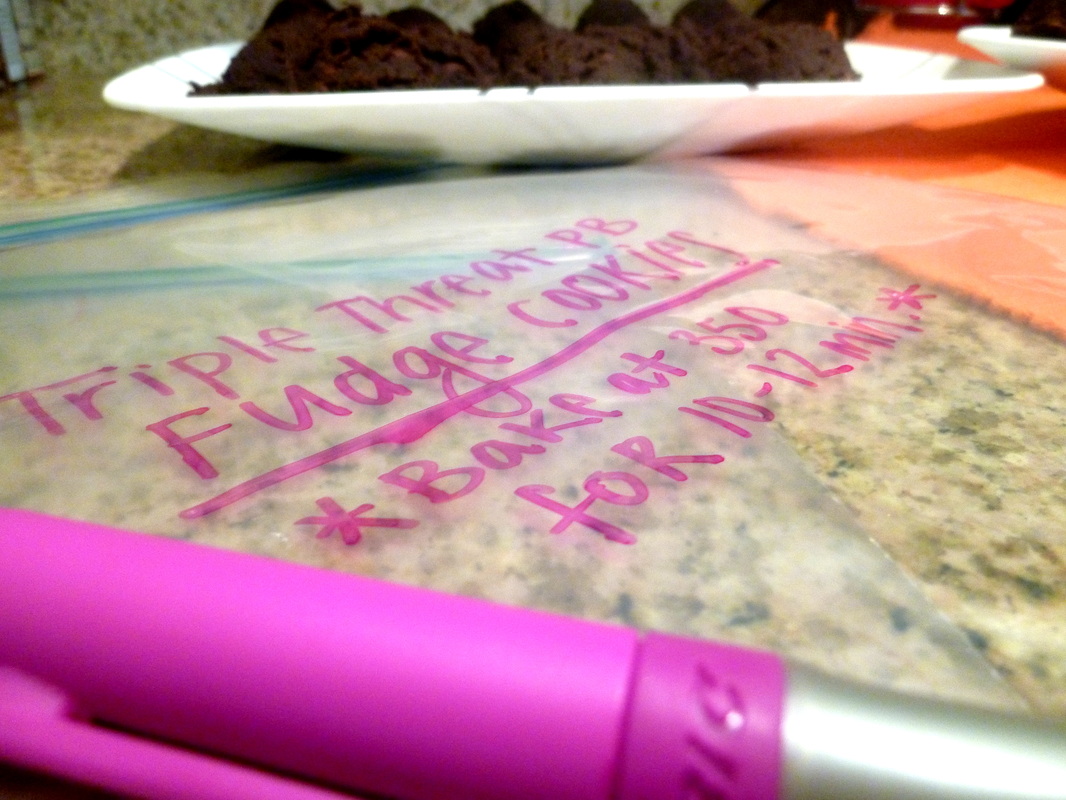
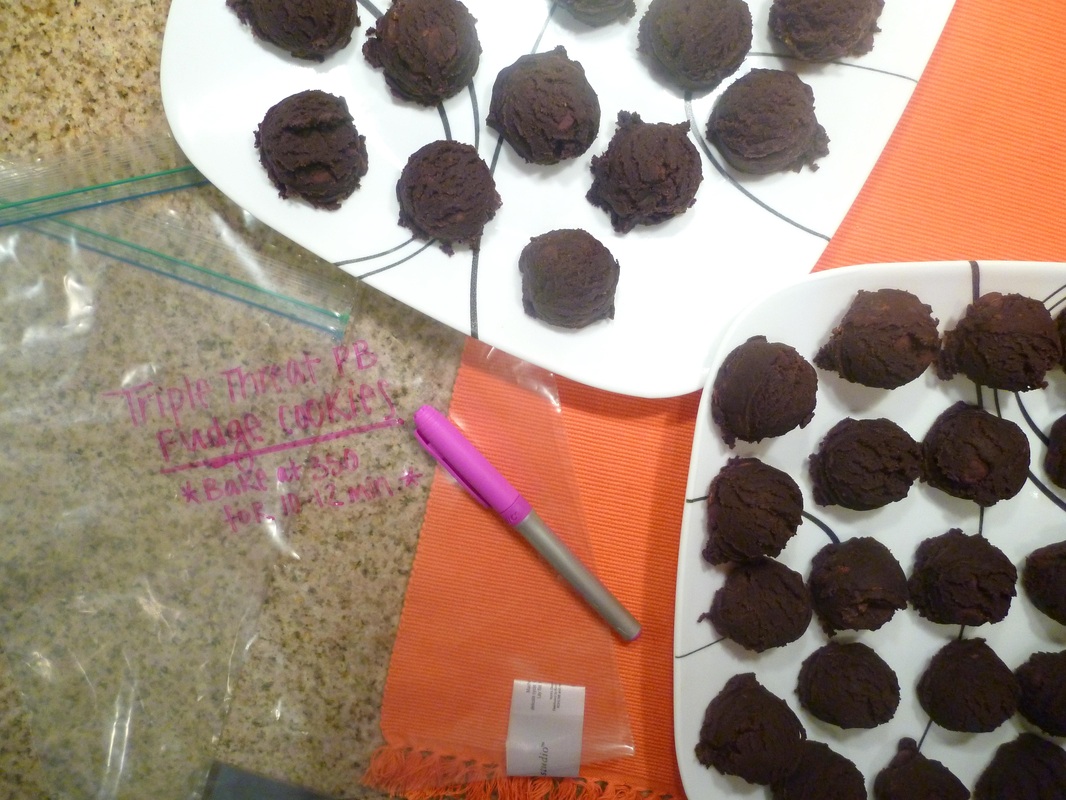
(5) Remove pans from freezer and place cookie dough balls in large Ziploc bags, labeled with cookie type, date, and baking instructions
(5) Remove pans from freezer and place cookie dough balls in large Ziploc bags, labeled with cookie type, date, and baking instructions

(6) Once the bags are full, lay them flat, remove as much air as possible, and zip them tightly shut
(7) Finally, stash the cookies in the freezer for up to 2 months
(*) Note: When you go to bake the cookies, it is recommended that you let the cookies thaw for 30 minutes beforehand, or if you’re impatient like me, just bake them for a couple minutes extra :)
(7) Finally, stash the cookies in the freezer for up to 2 months
(*) Note: When you go to bake the cookies, it is recommended that you let the cookies thaw for 30 minutes beforehand, or if you’re impatient like me, just bake them for a couple minutes extra :)
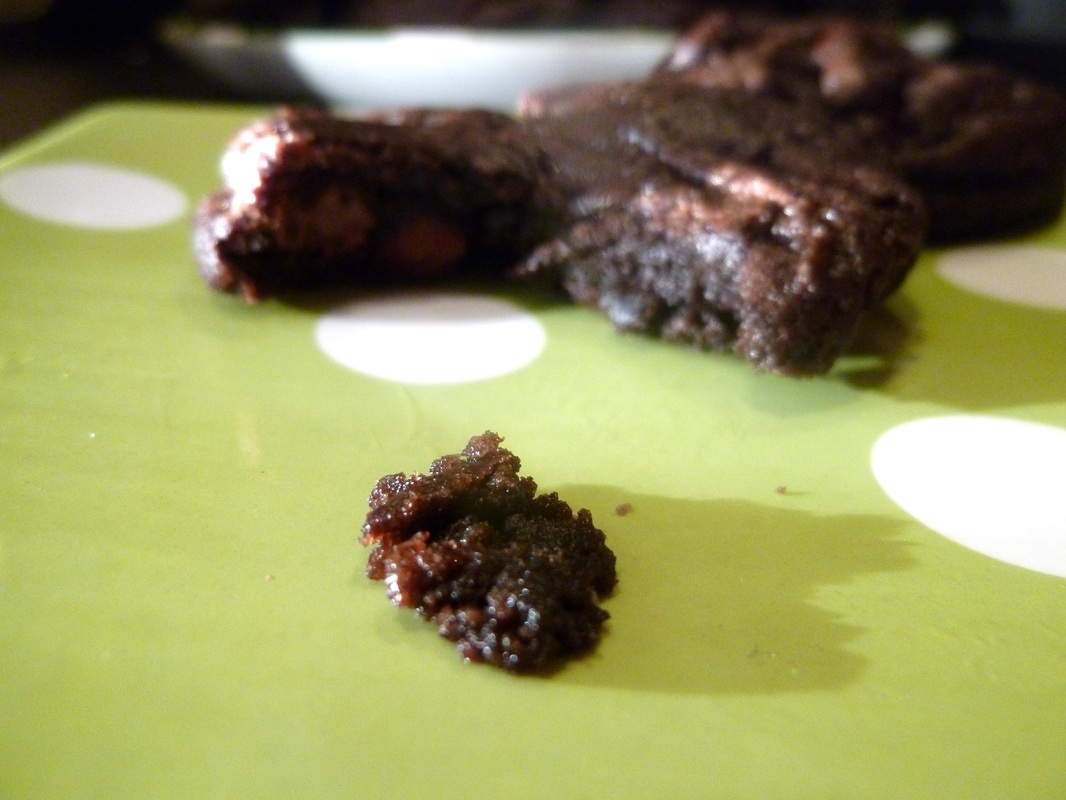
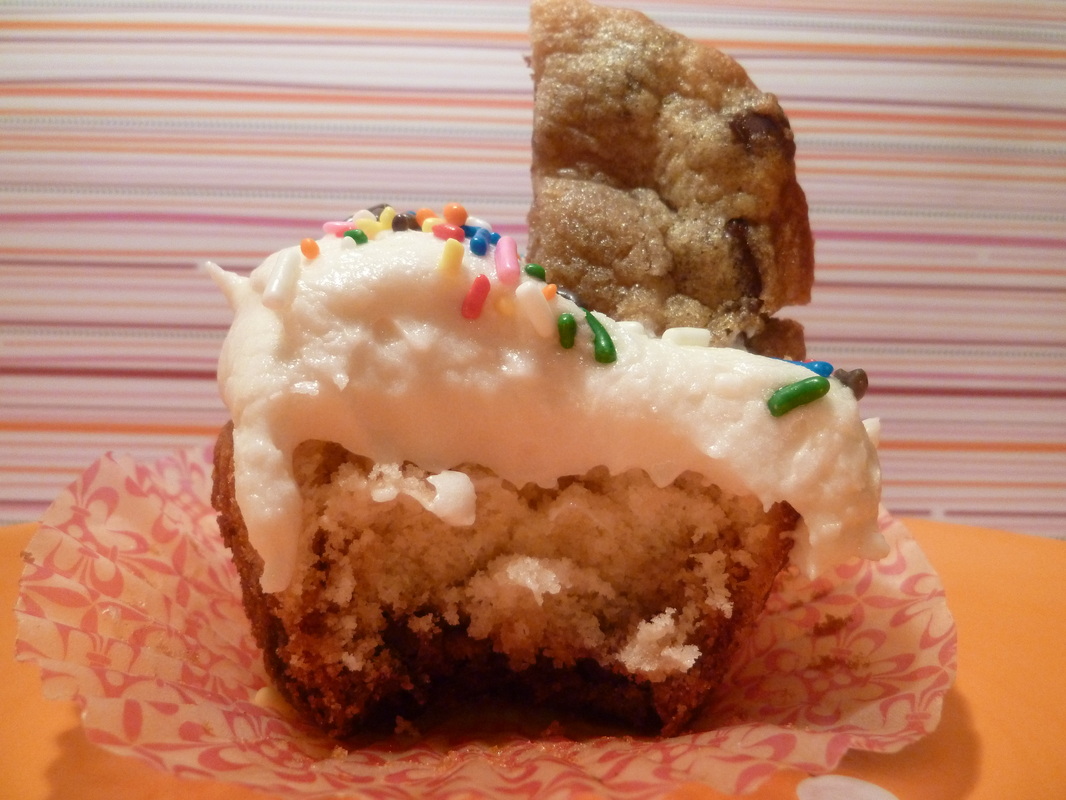
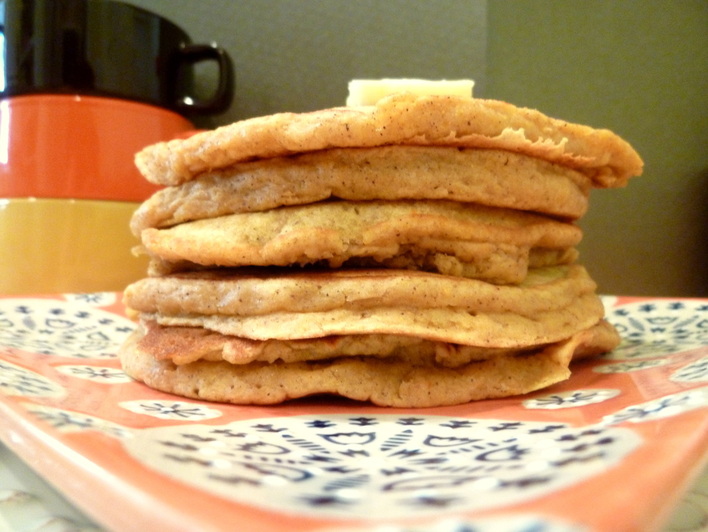
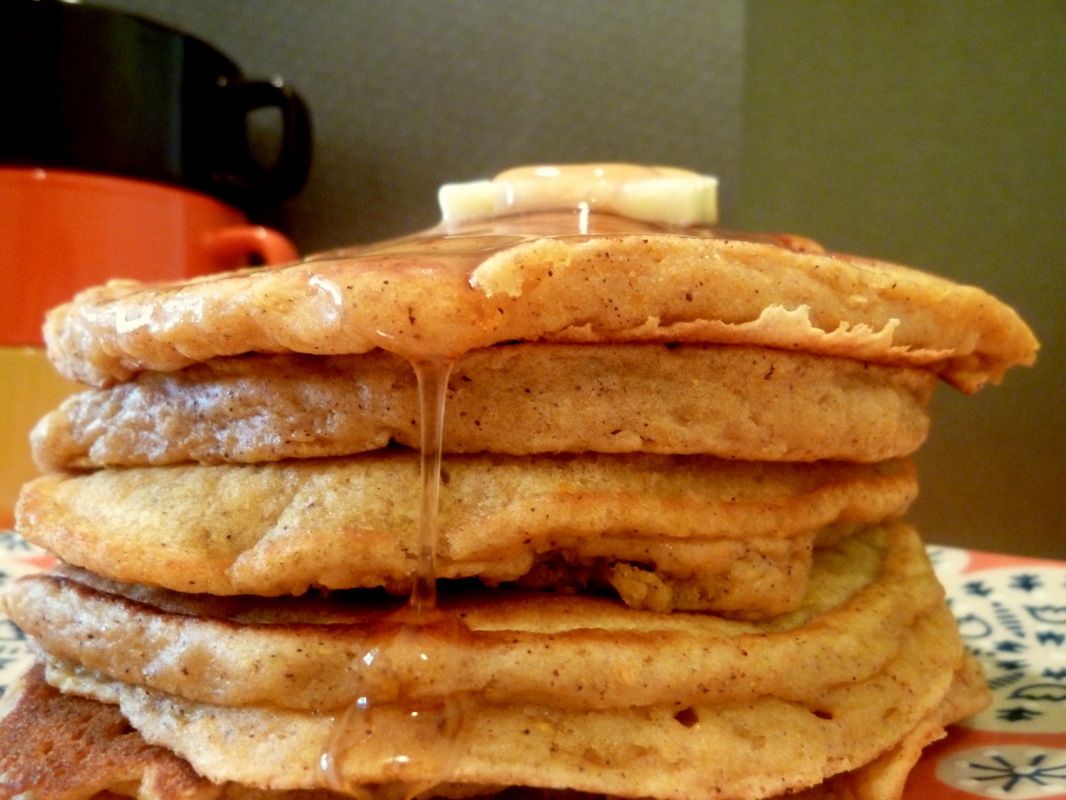
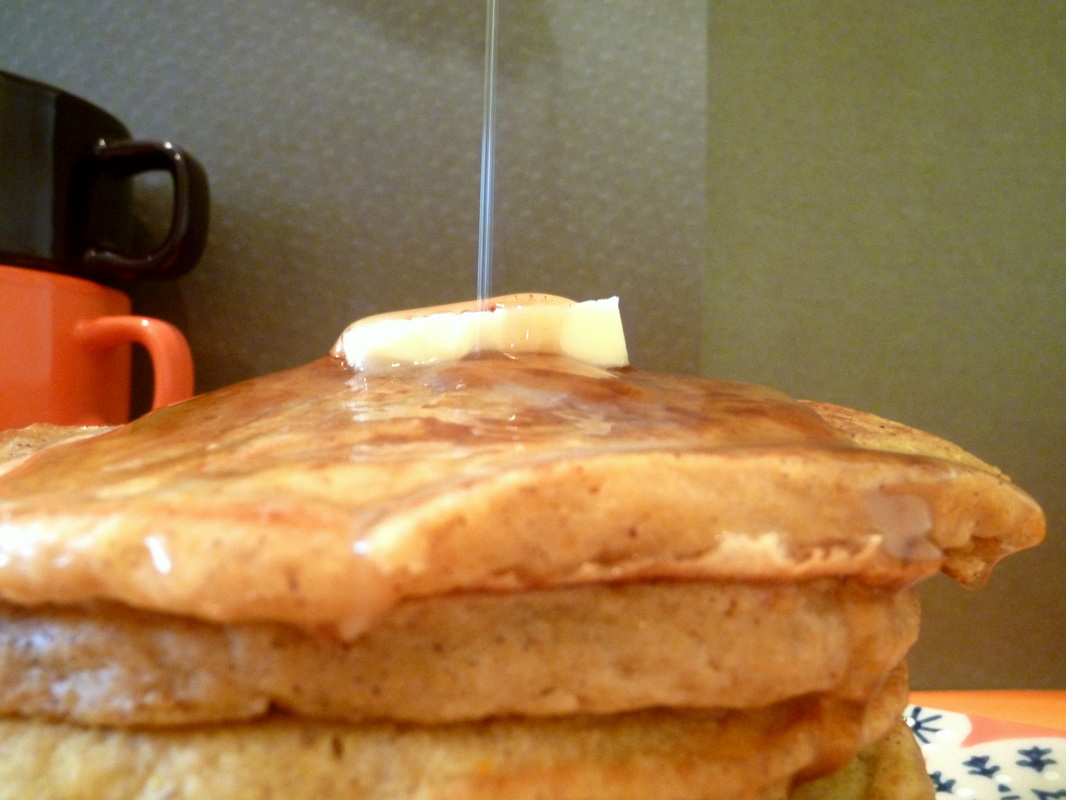
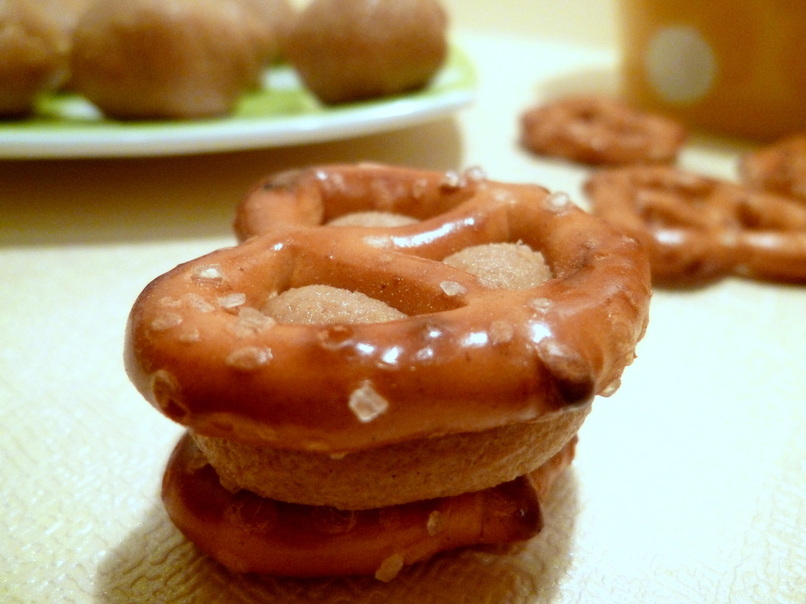
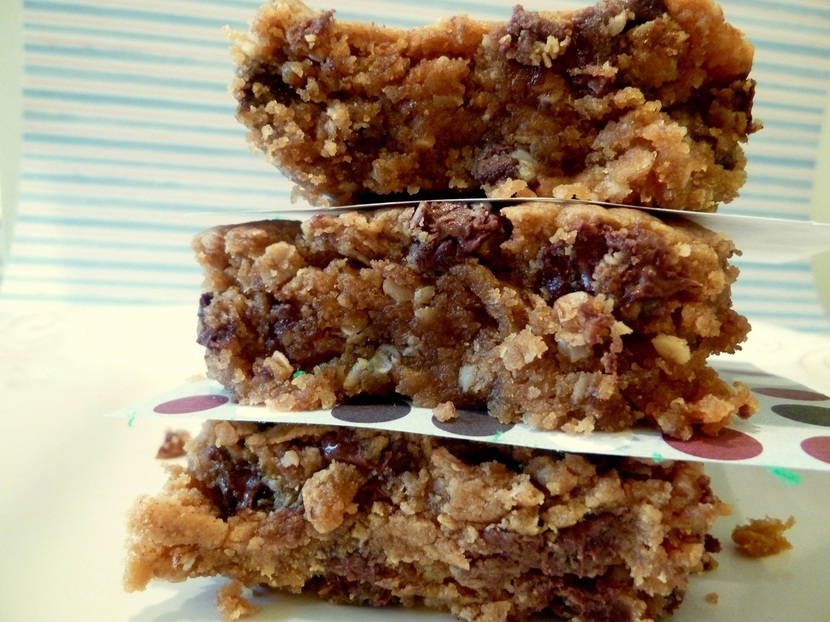
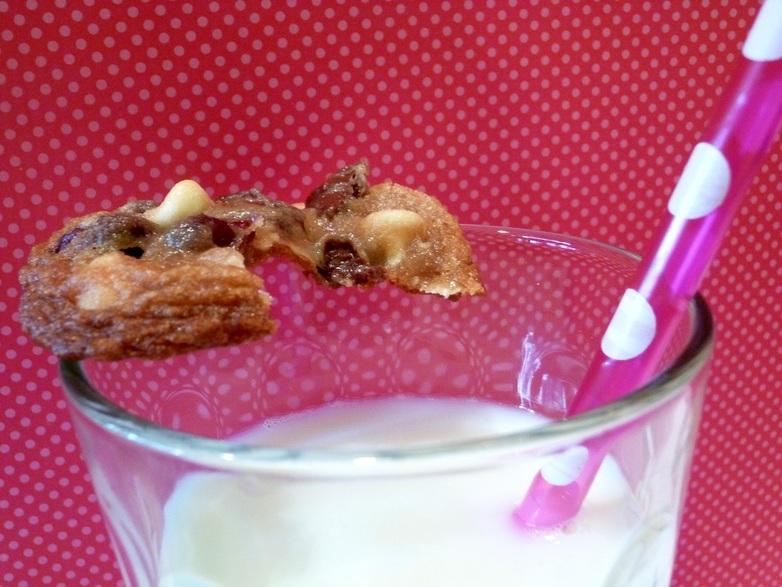
Now this is what I’m talking about :)