Girl Scout Tagalongs…*
…the one and only Peanut Buttery, Chocolatey G.S Cookies!
Once upon a time, I was a Girl Scout….well actually, a Brownie. I wore a little brown vest decorated in odd-shaped, colorful patches and a matching brown skort. Besides meeting my best friend, Ashley, who I still spend time with today, I don’t remember very much from the experience. I’m sure I learned a lot of valuable lessons and did some pretty neat things, but my only true memory is selling Girl Scout Cookies. I used pull my little red wagon, full of cookies though my neighborhood delivering boxes from door-to-door. My parents were by far, my best customers, buying enough boxes to our freezer for a year—well, that was the plan. As the years went by, I always looked forward to Girl Scout Cookie Season, when the younger neighborhood girls would stop by with their order forms. Now, that I’m in college, I’m lucky if I pass by the Family Fare and see a table set up outside with a few girls selling cookies. If I was fortunate enough to be approached by a little Girl Scout, I would be more than happy to purchase a few boxes to support their organization because it truly is a great cause.
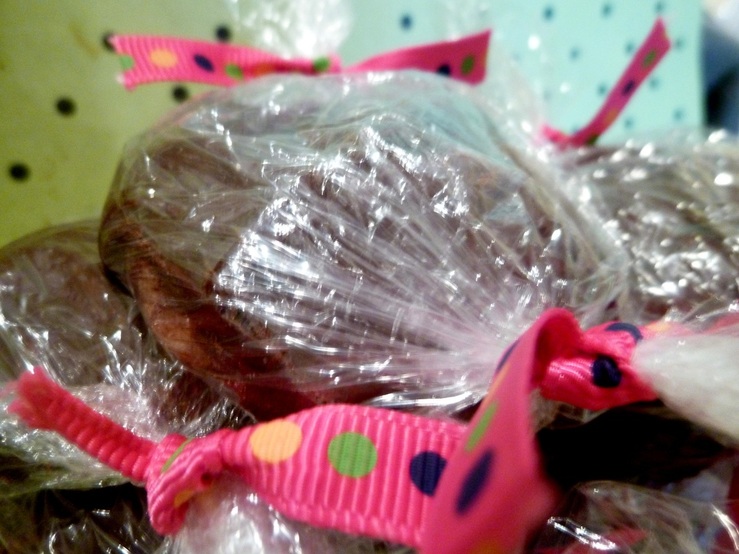
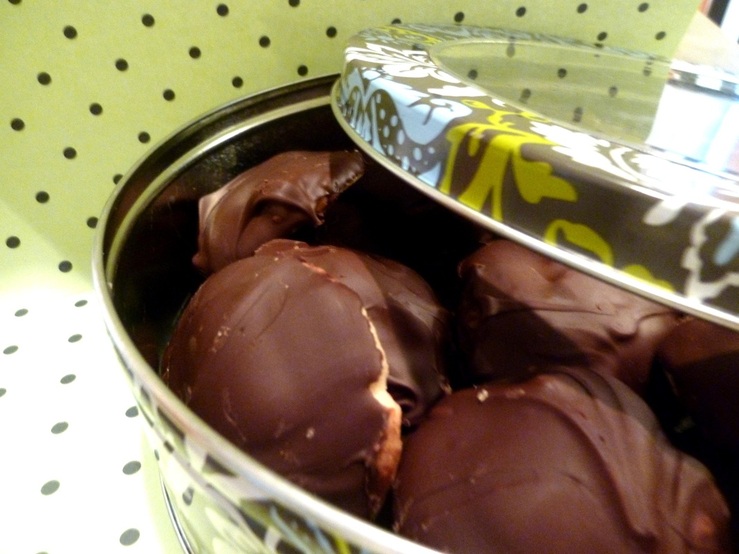
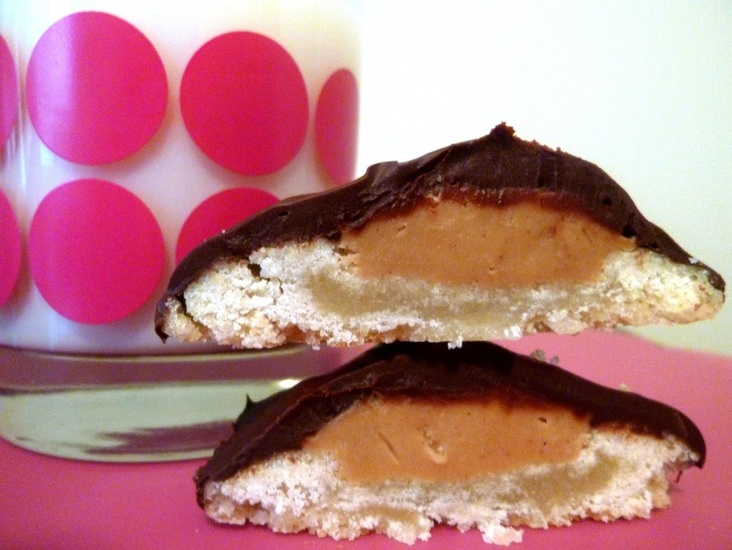
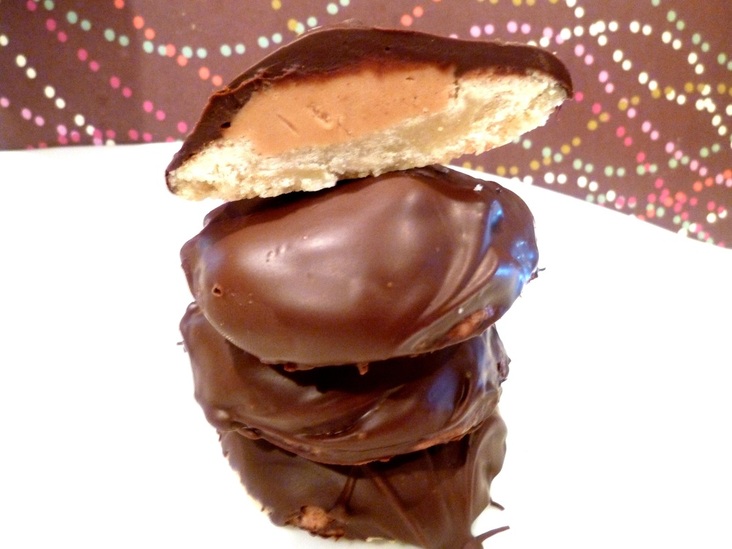
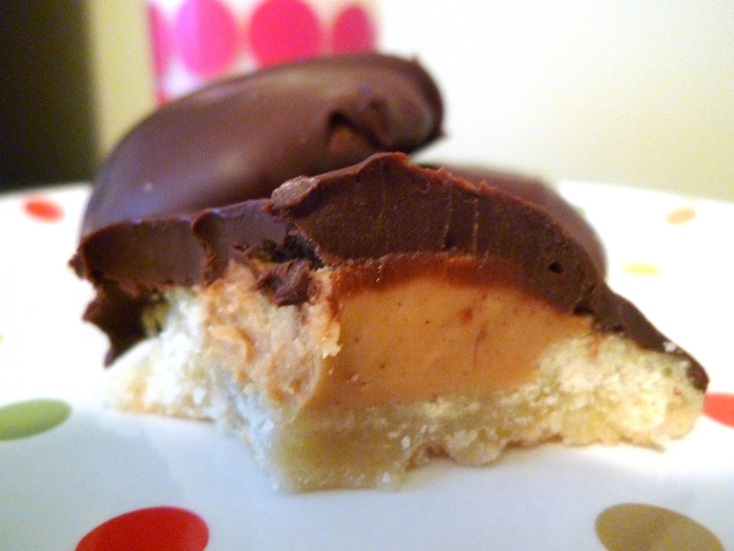
Since that’s not the case this year, I decided to make my own. I wanted to start with my favorite cookies, Tagalongs—the chocolate peanut buttery ones that come in the small red box. I recently heard that the number Tagalongs in each box was reduced in 2009 due to the increasing costs of raw materials and transportation. Sad :( Good thing you can make your own now (thanks to Baking Bites) and you get 36 cookies in 1 recipe! Wahoo! (I actually only ended up with about 27 because I made mine big and chunky…oh well, I’m not complaining!) These homemade treats are slightly fatter and more flavorful than the Scout version, but if you’re like me, you’ll enjoy getting more chocolate, peanut butter, and shortbread in every bite! The fluffy cookies are soft and perfectly complimented with a large dollop of peanut butter filling. Finally, the hard chocolate shell is delightful as it holds everything together in one, flavor-packed cookie. These cookies are SO good that I could…and I just might…eat them ALL, hehe. Enjoy!
Oh by the way, after writing this post, I discovered you can go here to find the “Nearest Cookie Booth” where you can purchase Girl Scout Cookies. I’m a little too latethis time—maybe next year! :)
…the one and only Peanut Buttery, Chocolatey G.S Cookies!
Once upon a time, I was a Girl Scout….well actually, a Brownie. I wore a little brown vest decorated in odd-shaped, colorful patches and a matching brown skort. Besides meeting my best friend, Ashley, who I still spend time with today, I don’t remember very much from the experience. I’m sure I learned a lot of valuable lessons and did some pretty neat things, but my only true memory is selling Girl Scout Cookies. I used pull my little red wagon, full of cookies though my neighborhood delivering boxes from door-to-door. My parents were by far, my best customers, buying enough boxes to our freezer for a year—well, that was the plan. As the years went by, I always looked forward to Girl Scout Cookie Season, when the younger neighborhood girls would stop by with their order forms. Now, that I’m in college, I’m lucky if I pass by the Family Fare and see a table set up outside with a few girls selling cookies. If I was fortunate enough to be approached by a little Girl Scout, I would be more than happy to purchase a few boxes to support their organization because it truly is a great cause.
Since that’s not the case this year, I decided to make my own. I wanted to start with my favorite cookies, Tagalongs—the chocolate peanut buttery ones that come in the small red box. I recently heard that the number Tagalongs in each box was reduced in 2009 due to the increasing costs of raw materials and transportation. Sad :( Good thing you can make your own now (thanks to Baking Bites) and you get 36 cookies in 1 recipe! Wahoo! (I actually only ended up with about 27 because I made mine big and chunky…oh well, I’m not complaining!) These homemade treats are slightly fatter and more flavorful than the Scout version, but if you’re like me, you’ll enjoy getting more chocolate, peanut butter, and shortbread in every bite! The fluffy cookies are soft and perfectly complimented with a large dollop of peanut butter filling. Finally, the hard chocolate shell is delightful as it holds everything together in one, flavor-packed cookie. These cookies are SO good that I could…and I just might…eat them ALL, hehe. Enjoy!
Oh by the way, after writing this post, I discovered you can go here to find the “Nearest Cookie Booth” where you can purchase Girl Scout Cookies. I’m a little too latethis time—maybe next year! :)
The Ingredients…*
(Recipe by Baking Bites)
Shortbread Cookies:
1 cup butter, softened
1/2 cup sugar
2 cups all-purpose flour
1/4 tsp. baking powder
1/2 tsp. salt
1/2 tsp. vanilla extract
2 Tbsp. milk
Peanut Butter Filling:
1 1/2 cups creamy peanut butter (natural or regular)
3/4 cup confectioners’ sugar
Generous pinch salt
1/2 tsp vanilla extract
The Instructions…*
First, make the cookies:
(Makes ≈ 3 dozen)
(1) Preheat oven to 350° F
(2) In a large mixing bowl, cream together butter and sugar
(3) Mix in flour, baking powder and salt at a low speed, followed by the vanilla and milk; the dough should come together into a soft ball
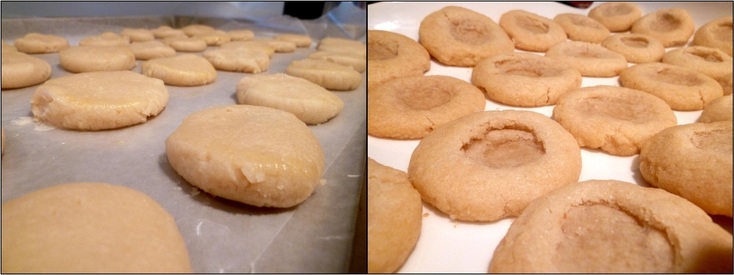
(4) Take a tablespoon full of dough and flatten it into a disc about 1/4-inch thick; Place on a parchment-lined baking sheet and repeat with remaining dough
(5) Cookies will not spread too much, so you can squeeze them in more than you would for chocolate chip cookies
(6) Bake cookies for 11-13 minutes, until bottoms and the edges are lightly browned and cookies are set; immediately after removing cookies from the oven, use your thumb or a small spoon to make a depression in the center of each cookie
(7) Cool for a few minutes on the baking sheet then transfer to a wire rack to cool completely
First, make the cookies:
(Makes ≈ 3 dozen)
(1) Preheat oven to 350° F
(2) In a large mixing bowl, cream together butter and sugar
(3) Mix in flour, baking powder and salt at a low speed, followed by the vanilla and milk; the dough should come together into a soft ball
(4) Take a tablespoon full of dough and flatten it into a disc about 1/4-inch thick; Place on a parchment-lined baking sheet and repeat with remaining dough
(5) Cookies will not spread too much, so you can squeeze them in more than you would for chocolate chip cookies
(6) Bake cookies for 11-13 minutes, until bottoms and the edges are lightly browned and cookies are set; immediately after removing cookies from the oven, use your thumb or a small spoon to make a depression in the center of each cookie
(7) Cool for a few minutes on the baking sheet then transfer to a wire rack to cool completely
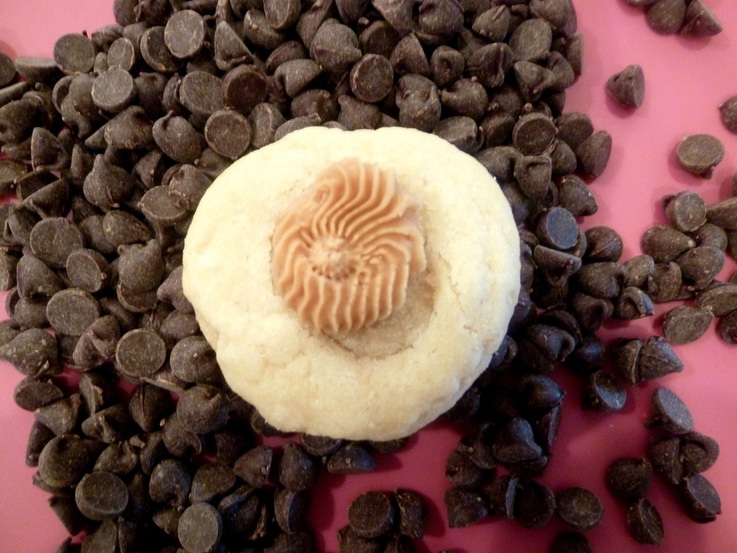
Next, the filling:
(1) In a small bowl, whisk together peanut butter, confectioners’ sugar, salt and vanilla
(2) When the mixture has come together, heat it in the microwave (again in short intervals, stirring frequently), until it is very, very soft
(3) Working carefully with the hot filling, transfer it to a pastry bag (or plastic bag with the tip cut off) and pipe a generous dome of the filling into each cookie’s “thumbprint”
(4) Chill cookies with filling for 20-30 minutes, or until the peanut butter is firm
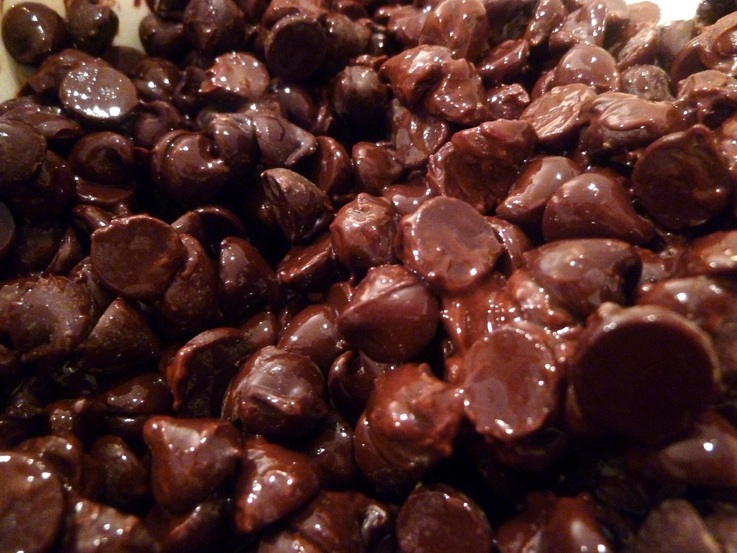
And finish with a hard chocolate shell:
(1) Melt the chocolate in a small, heat-resistant bowl (This can be done in a microwave—with frequent stirring—or on a double boiler)
(2) Dip chilled cookies into chocolate, let excess drip off, and place on a sheet of parchment paper to let the cookies set up; the setting process can be accelerated by putting the cookies into the refrigerator once they have been coated
(3) Once chocolate is hardened, you may need to re-dip for extra goodness; otherwise, enjoy them as they are :)