Custom Chocolate Toppers…*
…an easy way to dress up your desserts
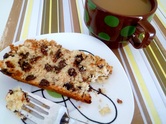
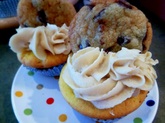
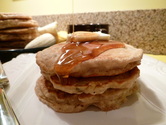
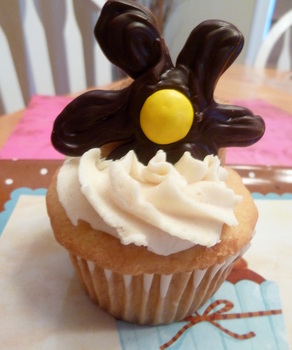
I think I’ve been watching too many episodes of ‘Cupcake Wars’…but I can’t help it—I’m addicted! The contestants are quite talented in creating elegant cupcakes with limited ingredients and time. The one thing I’ve noticed from every episode is how gorgeous their cupcakes look with a few quick tricks. I was inspired to create custom chocolate toppers to add to my desserts as a way of dressing them up a little. These delicate toppersare extremely easy and fun to make. As long as you have a Ziploc bag or pastry bag handy, you can craft melted chocolate into any shape, letter, or design that you can dream up. Enough of the talk—let’s get started!
…an easy way to dress up your desserts
I think I’ve been watching too many episodes of ‘Cupcake Wars’…but I can’t help it—I’m addicted! The contestants are quite talented in creating elegant cupcakes with limited ingredients and time. The one thing I’ve noticed from every episode is how gorgeous their cupcakes look with a few quick tricks. I was inspired to create custom chocolate toppers to add to my desserts as a way of dressing them up a little. These delicate toppersare extremely easy and fun to make. As long as you have a Ziploc bag or pastry bag handy, you can craft melted chocolate into any shape, letter, or design that you can dream up. Enough of the talk—let’s get started!
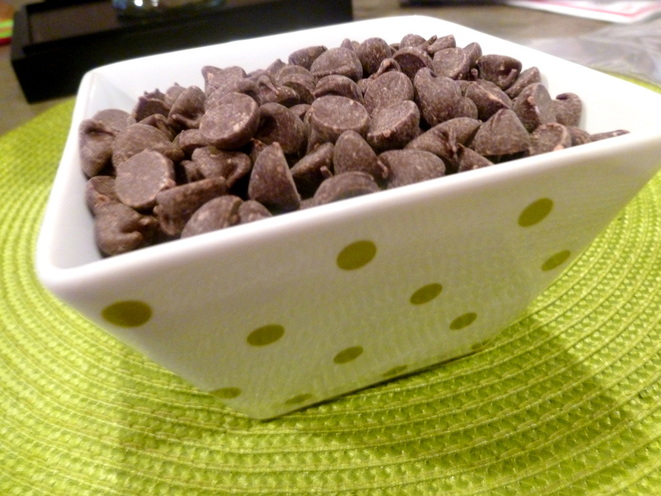
The Chocolate…*
2 cups semi-sweet chocolate chips (or any chocolate)
microwave safe bowl for melting
(1) Empty chocolate chips into microwave safe bowl
(2) Microwave morsels in 30 second intervals, stirring in between until chocolate is completely melted
2 cups semi-sweet chocolate chips (or any chocolate)
microwave safe bowl for melting
(1) Empty chocolate chips into microwave safe bowl
(2) Microwave morsels in 30 second intervals, stirring in between until chocolate is completely melted
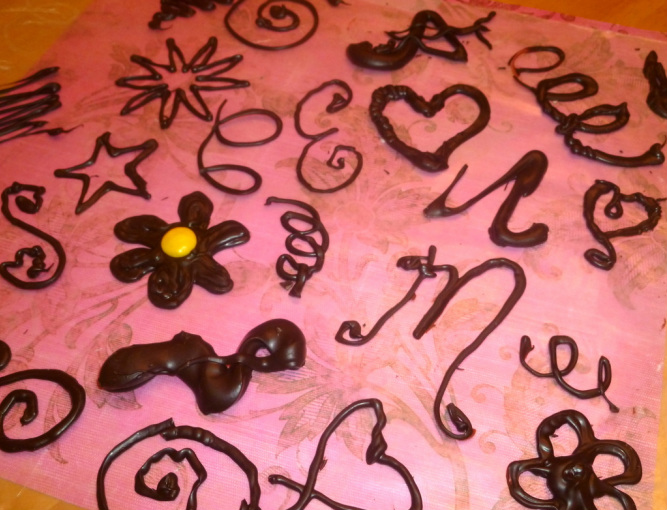
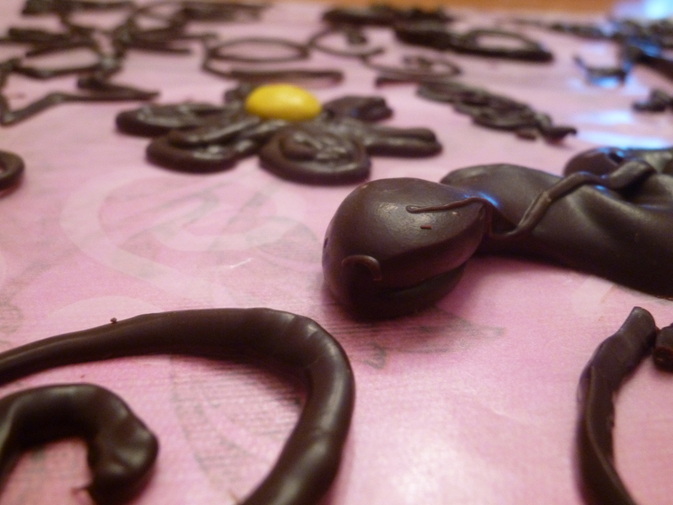
Chocolate Designs...*
(1) Line counter with wax paper and tape corners down to keep in place
(2) Spoon or pour melted chocolate into bag
(3) Snip the corner or tip of bag and begin drawing designs directly onto the wax paper
(4) Let chocolate completely cool and harden before attempting to remove from wax paper
(5) Store in airtight container at room-temperature or in refrigerator
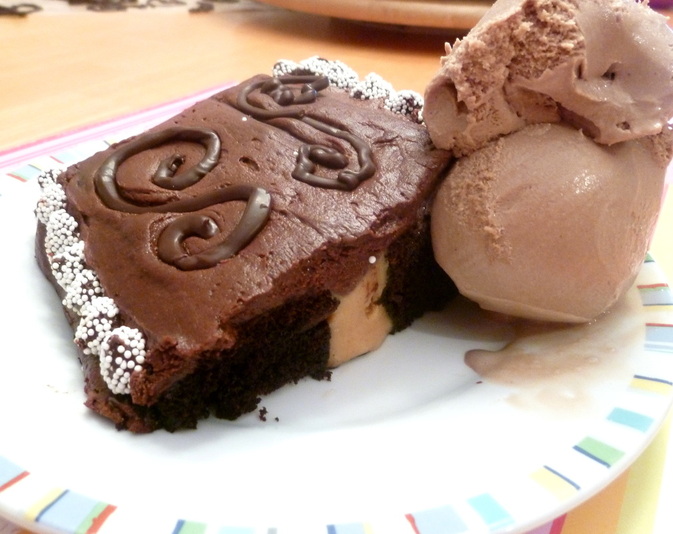
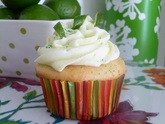
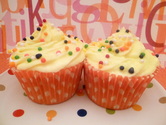
(6) Decorate frosted cakes, pies, muffins, cupcakes, frozen ice cream treats or drinks!
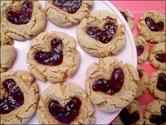
My Secret...*
I placed a sheet of paper underneath the wax paper with designs already drawn out. I was able to replicate the designs by tracing over them with the chocolate onto the waxed paper. Another idea would be to find designs off the internet and in magazines to trace or to use for inspiration! Be creative and have fun... :)
(1) Line counter with wax paper and tape corners down to keep in place
(2) Spoon or pour melted chocolate into bag
(3) Snip the corner or tip of bag and begin drawing designs directly onto the wax paper
(4) Let chocolate completely cool and harden before attempting to remove from wax paper
(5) Store in airtight container at room-temperature or in refrigerator
(6) Decorate frosted cakes, pies, muffins, cupcakes, frozen ice cream treats or drinks!
My Secret...*
I placed a sheet of paper underneath the wax paper with designs already drawn out. I was able to replicate the designs by tracing over them with the chocolate onto the waxed paper. Another idea would be to find designs off the internet and in magazines to trace or to use for inspiration! Be creative and have fun... :)